

 shqiptare
 euskara
 Zulu
Zulu
 Latinus
 Cymraeg
 தமிழ்
தமிழ்
 Slovak
 Slovak
 Afrikaans

7 Steps to set up off-grid solar energy system for home
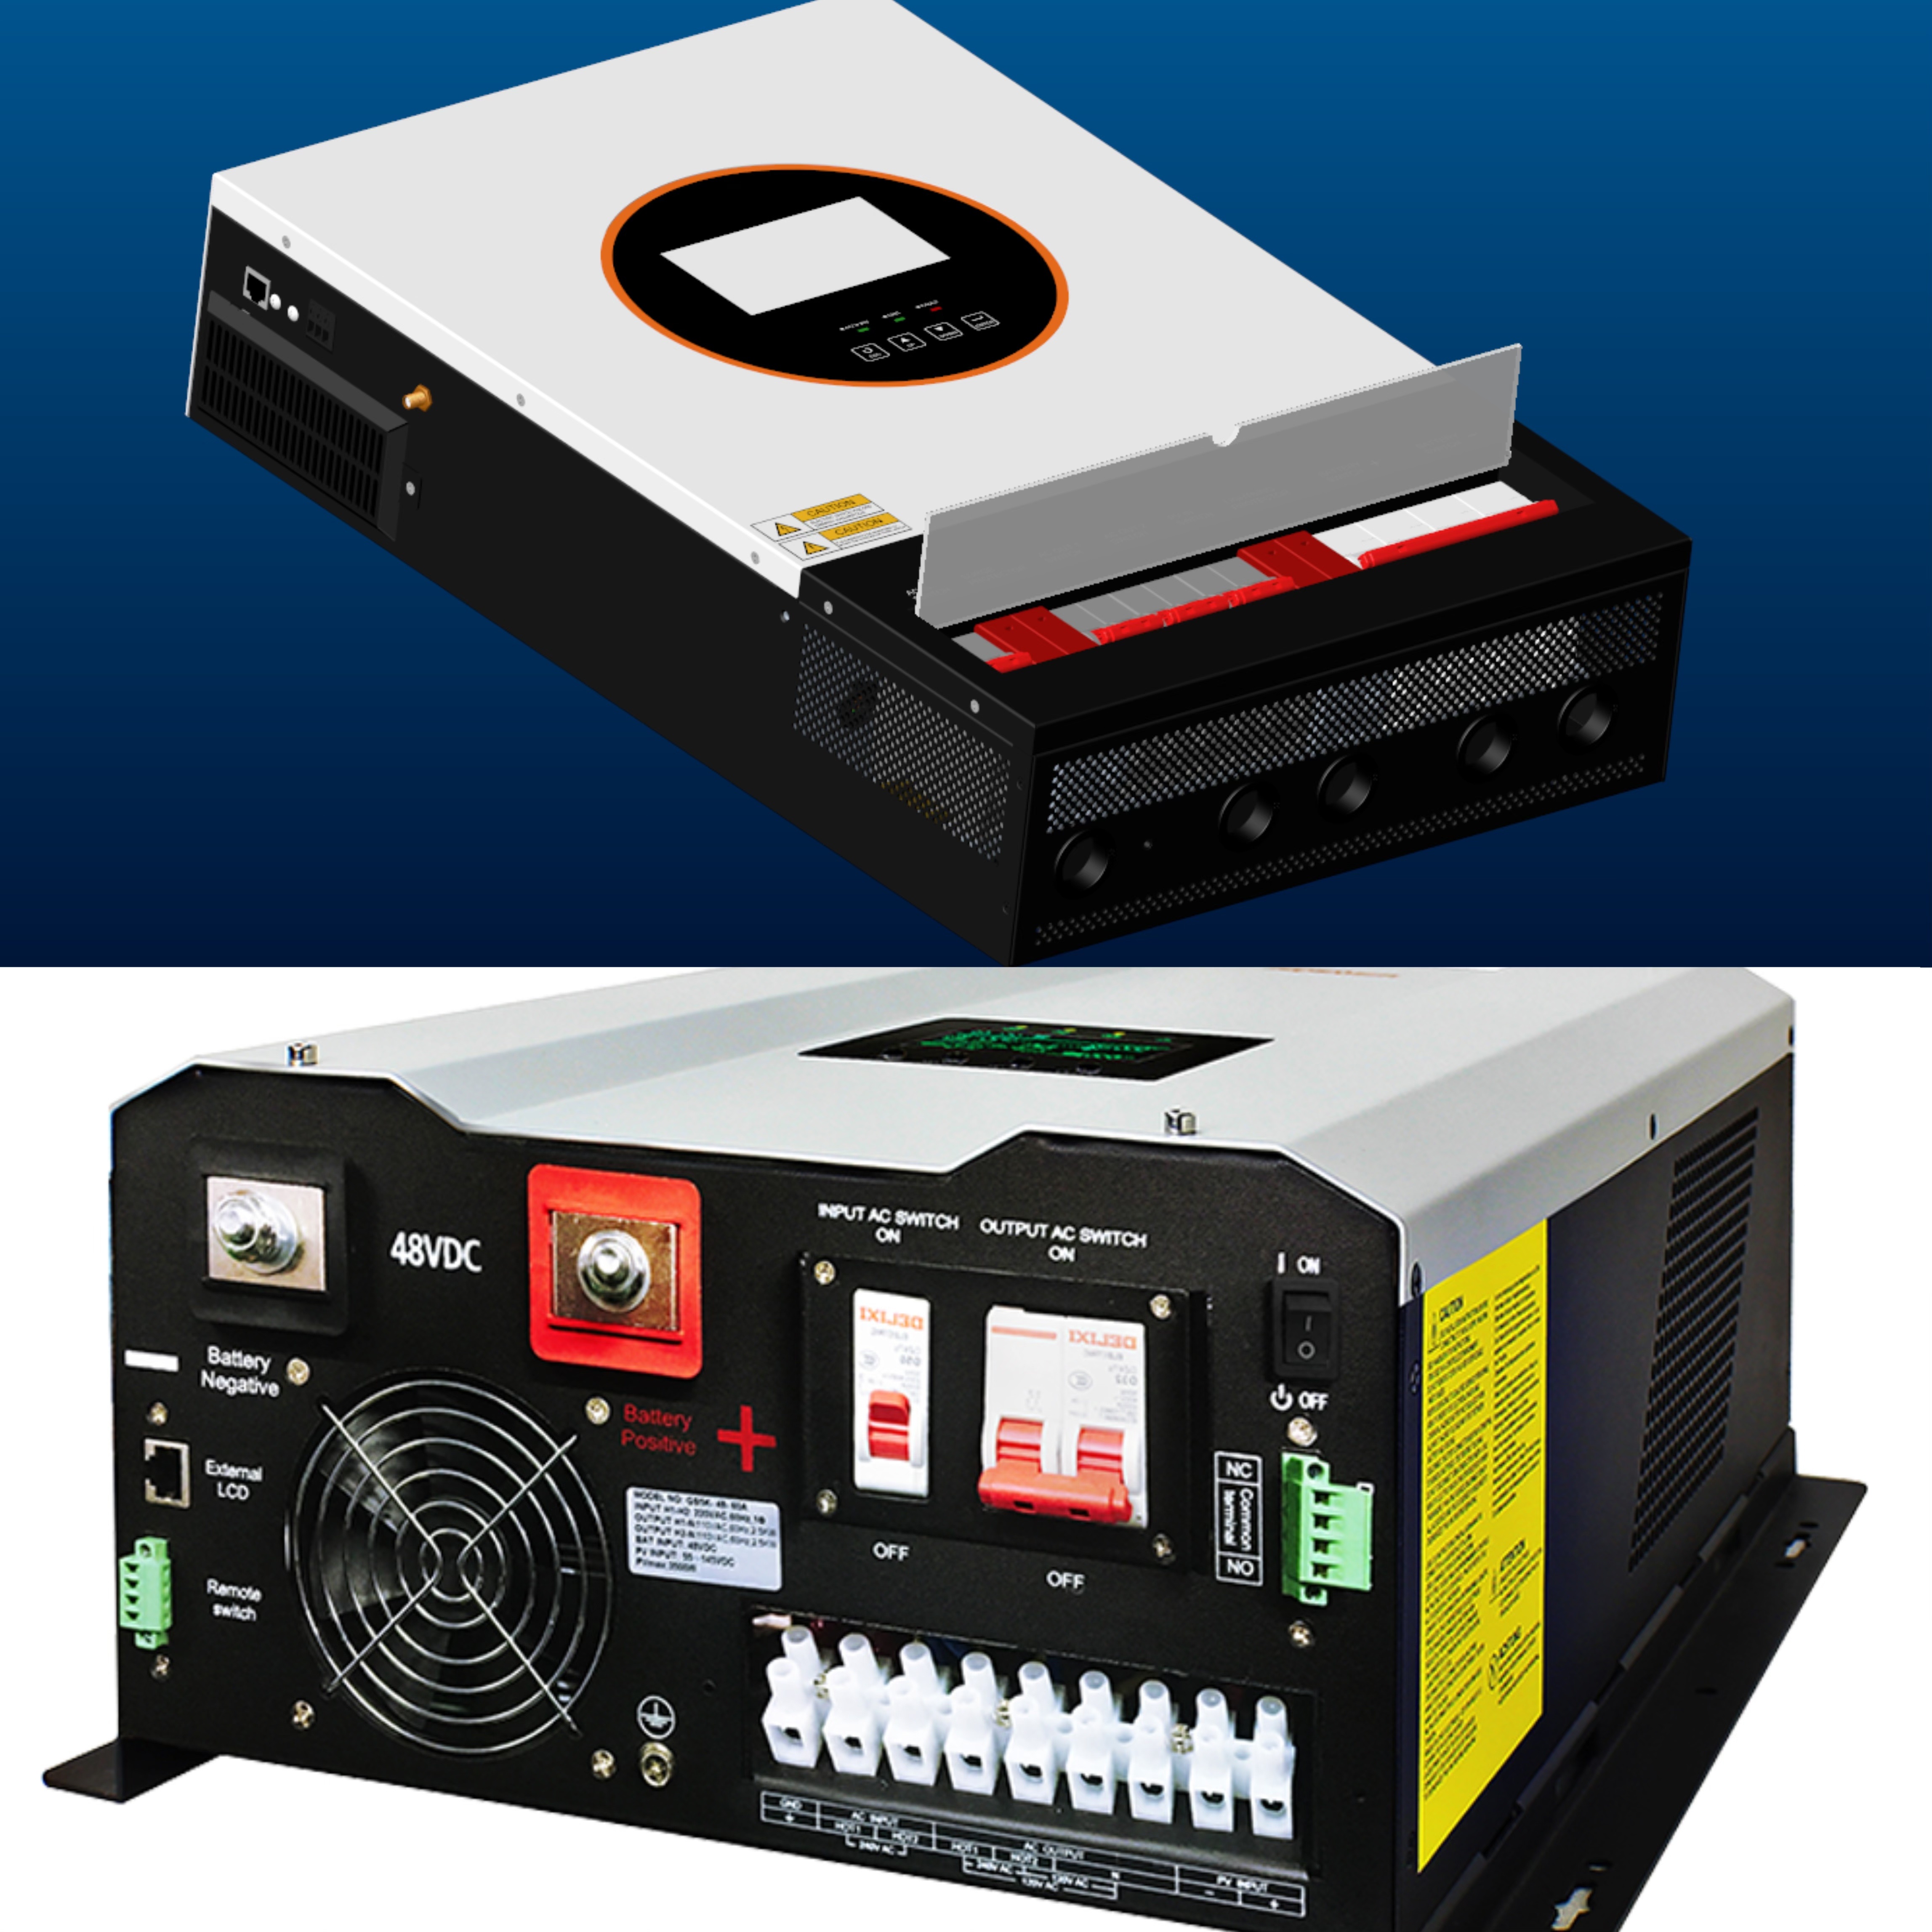
1,STEP ONE :Choose an 48V Off grid Solar inverter .
The Off grid system include the solar panel kit with battery and inverter. For powering a house, cabin, or RV with off-grid solar, the most common choice is a 48V All-in-One Off-Grid Inverter cuz 48V off grid inverter and battery are available easy.
Each unit combines all the essential components you need an all-in-one off grid solar inverter with those function:
An Inverter
A Solar Charge Controller
An AC Battery Charger
2,STEP TWO Select the right battery.
Option 1: The Modern Standard — 48V Lithium (LiFePO4) Batteries
Pros: This is the highly recommended choice for most new installations. LiFePO4 batteries offer a longer lifespan (often 10+ years and thousands of cycles), higher efficiency, faster charging, and a much greater usable capacity (you can safely use 80-100% of their rated capacity without damage). They are lighter, maintenance-free, and often come with built-in Battery Management Systems (BMS) for safety.
Cons: The initial upfront cost is higher than lead-acid.
Best For: Users seeking a "set it and forget it" solution with maximum performance and long-term value. If your budget allows, this is the way to go.
Option 2: The Budget-Friendly Classic — Series-Connected 12V Lead-Acid Batteries
Pros: The main advantage is a lower initial purchase price. This is a traditional technology that many are familiar with.
Cons: This approach has significant drawbacks. You typically need four identical 12V lead-acid batteries wired in series to create a 48V bank. They have a much shorter lifespan (3-7 years), require regular maintenance (checking water levels), and offer less usable capacity (only about 50% of their rating can be used without causing premature degradation). They are also heavier and charge more slowly.
Best For: Those on an extremely tight initial budget or for temporary, low-cycle setups.
The Verdict:
While the upfront cost of lead-acid is tempting, 48V Lithium (LiFePO4) batteries generally provide a lower cost over the system's lifetime due to their superior cycle life and efficiency. When you factor in the need to replace lead-acid batteries two or three times over the life of a single lithium bank, the long-term economics strongly favor lithium.
Pro Tip: Always ensure your chosen battery's voltage and charge parameters are compatible with your all-in-one inverter's settings.

3,STEP ThREE:Pick Your Solar Panel Mount
Right now, the go-to method for most DIY off-gridders is a Ground Mount. Here’s why it’s so popular:
Usually Permit-Free
Skip the paperwork! Roof installations often need a permit, but ground mounts in most areas don’t.
Super Easy to Access & Clean
No more climbing onto the roof—everything is right at ground level.
Simple Maintenance
All hardware and wiring connections are easy to see, reach, and service.
Easier & Safer Installation
No harnesses or professional roofers needed. You can DIY this with confidence.
No Roof Leak Risks
Keep your roof untouched and your mind at ease.
Portable & Flexible
Need to move your array? A ground mount makes it quick and straightforward.
Works Anywhere
Secure it into concrete, dirt, or even use a ballasted system on flat surfaces.
The only catch? You’ll need some open space. If you’re short on room, we strongly recommend hiring a pro to assess your roof. They’ll handle the mounting and pull the necessary permits for you.
STEP FOUR: Choose Your Solar Panels
Modern solar panels are built to last, offering outstanding quality and reliable power output for decades. But before you order, here are a few key tips to keep in mind:
Order Extras: It’s smart to buy a couple of extra panels upfront—just in case of future damage or if you want to expand your system later.
Save with Volume: The more panels you buy, the lower the cost per panel. Planning your full system size early can lead to significant savings.
Handle with Care: Panels are large and fragile. Always have someone help you during installation, and avoid working on windy days.
Safety First – Connect in the Dark: Never connect or disconnect panels while they’re exposed to sunlight. They generate high, dangerous voltages in daylight. Always perform wiring tasks at night or in very low light.
Expect Some Breakage: Glass can break—especially when multiple panels are shipped together. Choose a reputable supplier with a clear breakage policy, so you’re covered if any panels arrive damaged.
Go with the Popular Choice: For off-grid systems, 400W–710W bifacial panels are a top pick. They’re compact, efficient, and beginner-friendly.
STEP FIVE:Collection the Materials & Build it!
Before connection,to help you avoid missing key items, here’s a list of what many people overlook:
THHN Wire
Used to connect your inverter to the load panel. This is high-quality building wire—and the larger your inverter, the thicker the wire gauge you’ll need.
The Right Tools
Don’t forget wire strippers, cable cutters, and crimping tools. Using proper tools makes installation safer and cleaner.
Flex Conduit
A beginner-friendly way to protect wiring between the inverter and breaker box. Widely available and easy to install.
Romex Cable
This is the standard household cable used to run power from your load panel to outlets. For most circuits, 12AWG Romex is a reliable choice.
Circuit Breakers & Load Panel
Don’t let the load panel intimidate you—it’s simpler to install than it looks. If you’re not comfortable, an electrician can help, but that comes at a premium. Most of these components are readily available at local hardware stores.
STEP SIX: Mounting the Core components 4,
1. Install the Batteries
Batteries are the heaviest part of your system—plan their placement carefully.
Always keep batteries switched "OFF" while moving or working on them.
For whole-home backup, install them strategically near your main breaker panel for simpler wiring.
2. Mount the Inverter
Start by securing the included mounting plate firmly to a wall stud.
With the plate in place, ask a friend to help lift and hang the inverter—never attempt this alone.
3. Set Up a Load Panel
If you don’t have a dedicated load panel, purchase one from your local hardware store.
Mount it on the wall next to the inverter for safe and organized load connections.
4,Mount the solar panels
Step SEVEN: Connect All Components
With everything mounted, you can now wire the system together. Ensure every component is switched OFF before starting.Battery Connections
Connect your batteries in parallel, then run cables from the battery bank to your all-in-one inverter. Always connect the red positive cable to the positive terminal first.
Link Inverter to Load Panel
Use THHN wire to connect the inverter’s output to your load center or breaker box. Check your inverter’s manual for the correct wire gauge based on system specs.
Prepare Solar Array Wiring
Run the PV wires from the array location to the inverter, but do not connect the actual panels yet. Ensure the PV disconnect switch at the inverter is in the "OFF" position.
STEP EIGHT: Connect the Solar Panels & Power Up
This final wiring phase requires caution. Follow these steps carefully to ensure a safe and correct installation.
A. Connect Solar Panels in Series
Work at night for safety. While covering panels with a blanket is an option, nighttime is strongly recommended for first-time installations.
Connect panels in series by linking the positive (+) terminal of one panel to the negative (-) of the next using MC4 connectors. The design only permits this series connection.
B. Wire Array to System & Verify Polarity
Connect the series-wired array to the cables running to your all-in-one unit. Keep the PV disconnect switch in the "OFF" position.
Before powering on, verify wiring polarity at the inverter's PV input using a multimeter. Insert probes into the test ports near the terminals.
A positive voltage reading (typically 2-5V even at night) confirms correct polarity. A negative reading indicates reversed wires somewhere in your array wiring.
C. System Power-Up Sequence
Switch on the main battery breaker, PV disconnect, and AC output
Power on batteries using their "on/off" button and flip the breaker to "ON"
Activate the main breaker panel using the main switch
Finally, turn the "EPS Output" switch to the on position - your system is now live
D. Final Configuration
Install Wi-Fi dongles to update firmware and adjust settings. Refer to specific video guides for your inverter model, as procedures vary by manufacturer.
Subscribe
Check the latest news of our company anytime and anywhere.
Contact ZLPOWER
1-2 Floor, Building E, Liyukeng Industrial Zone, Beihuan Road, Shangwu Community,Shiyan Street, Bao'an District, Shenzhen,Guangdong, China